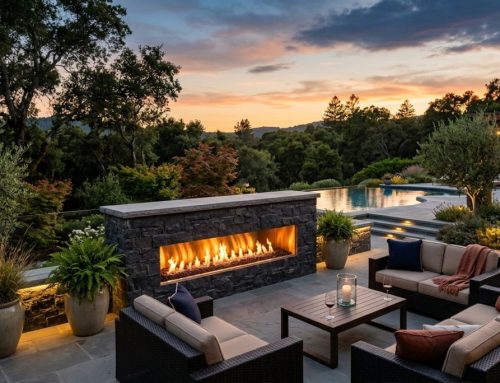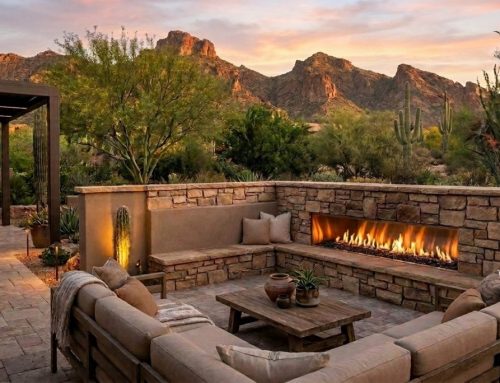
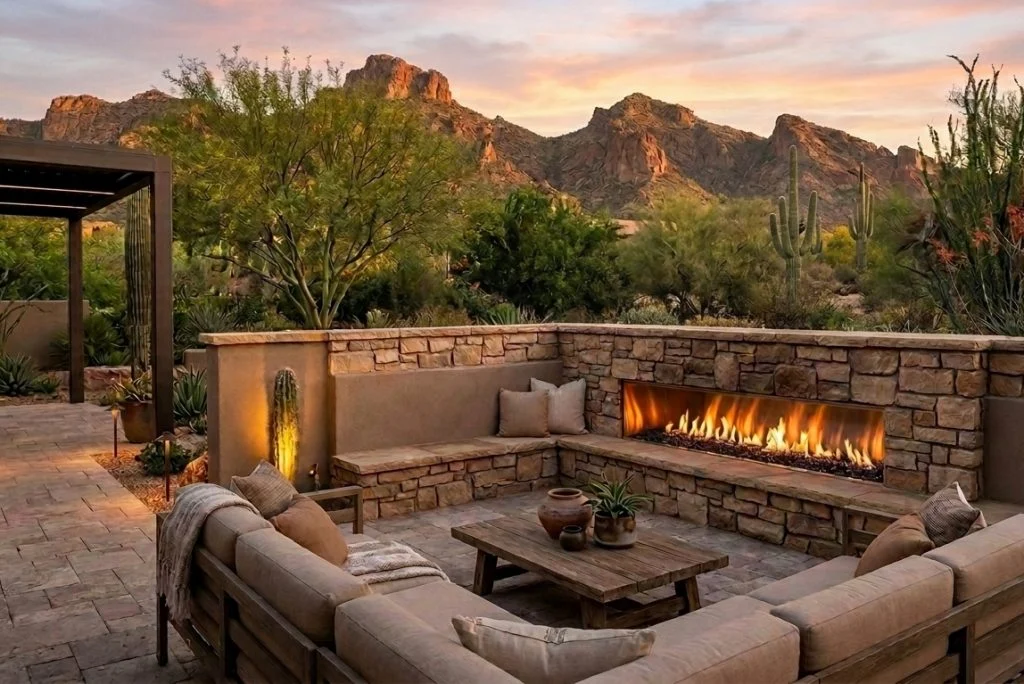
Outdoor gas fireplace planning starts before the wall, patio or outdoor room is built. By the time the stone is going up, most of the decisions below have already been made for you, and changing them means taking the surround apart.
This is a planning guide, not a replacement for the installation manual. The manual that ships with your unit is the final word on every dimension, and your installer will work from it. What follows is the short list of things that decide where a Flare outdoor fireplace can go and what has to be built around it, so those things get drawn correctly the first time.
First Question: Is the Space Really Outdoors?
This one surprises people more than any other, and it is worth settling early, because the answer can rule out a location completely.
Flare’s outdoor fireplaces are vent-free. There is no flue and no chimney, which is exactly why they can sit inside a garden wall, a plinth or a freestanding outdoor structure with nothing running up through a roof. The trade-off is that the surrounding air does the job a flue would otherwise do, so that air has to keep moving. In the open, it does. In a room, it does not, which is why these units are certified for outdoor use only and must never be installed inside a building, garage or enclosed space.
A roof over the patio does not automatically disqualify a space. Walls are what count. Flare approves three arrangements:
- No roof, with surrounding walls. Permitted when the required permanent ground-level opening is provided.
- Roof with no more than two walls. Permitted.
- Roof with three walls. Permitted only when at least 30 percent of the perimeter remains permanently open.
That last condition is the one worth remembering, and “permanently” is the operative word. Sliding panels, winter screens, roll-down shades and anything else that can be closed later do not count toward the 30 percent. It is easy to design a covered outdoor room that qualifies on the day it is finished and quietly stops qualifying when someone adds shutters two years on.
One absolute, whatever the enclosure: an outdoor vent-free fireplace can never open into the inside of a house. If the goal is a fireplace visible from both the living room and the terrace, that is a direct-vent unit, not a vent-free one.
How Much Room It Needs
Two numbers set most elevations. The fireplace has to sit at least 11 inches above the ground or any combustible surface, and there has to be at least 36 inches from the top of the opening to the ceiling. On a covered patio, that second number is usually what decides how high the unit can go.
The full set is worth handing to whoever is drawing the surround:
| Minimum clearance to combustible materials | |
|---|---|
| Above the ground or any combustible surface | 11″ |
| Opening to a side wall | 6″ |
| Opening to the ceiling | 36″ |
| Floor to ceiling | 90″ |
| Alcove width | Fireplace length + 12″ |
| Alcove depth | 24″ |
| Cement board above the opening | 8″ |
| Cement board at the sides of the opening | 2.5″ |
| Face of the fireplace to furniture | 36″ |
Clearances to the framing itself are tighter: 4″ at the top, 2″ at the sides and back, and nothing required at the bottom.
Two things are easy to miss. Type-X drywall is not permitted above the opening, so that surface needs cement board. And none of these figures relax for corner units. A double corner needs the same 36 inches to the ceiling as a front-facing one.
What Sits Above the Fireplace
A vent-free fireplace pushes a lot of heat straight out of the front of the opening. Anything directly overhead feels it.
If you want an overhang above the opening, it has to be non-combustible in both framing and finish, and it cannot project more than 4 inches. It will also get hot enough to be a burn risk, which matters if it is within reach of anyone sitting nearby.
Vinyl is the specific problem. Flare does not cover heat damage to vinyl soffits, vinyl ceilings or vinyl overhangs, and those surfaces discolor and crack over time. Many patio covers use vinyl soffits or ceiling panels, so this material should be identified before the fireplace elevation is finalized. If yours is one of them, the ceiling above the fireplace is what changes, not the fireplace.
Water Has to Have Somewhere to Go
Outdoor fireplaces get wet. Flare units shed rain well, but they are not sealed boxes, and between weather, irrigation, pool splash and simple condensation, water finds its way into the cavity. Every installation needs a way for it to get back out, and planning that is a construction item rather than a maintenance one.
Start with the simple version. If the conditions allow it, slope the platform and hearth away from the building at about 1/4 inch per foot and let gravity do the work. The fireplace is shimmed level on top, so a sloped base costs nothing in appearance, and it needs no pan, no piping and no additional framing height. On an open patio or a yard installation where the ground already falls away from the house, this is usually all that is needed, and it is much the easiest thing to get right on site.
Use a drain pan where that is not available. Recessed patios, roof decks, pool surrounds, courtyards and anywhere else water can collect need a sealed, corrosion-resistant drain pan installed before the fireplace. It runs the full length of the unit, it is metal or a membrane such as an ice and water shield, it slopes about 1/4 inch per foot toward a drain port, and it has piping or weep holes so the water it collects actually leaves.
That is the version that catches builders out, because the pan and its piping sit underneath the fireplace, so the framing has to be built taller to accommodate them. Detail the base at the fireplace dimension alone and you will be rebuilding it. Establish early which of the two situations you are in, because it changes the height of everything below the unit.
Either way, where the fireplace meets an exterior wall, build the chase outside the building’s weather envelope and flash the joint the way you would flash an attached deck. And because Flare units drain through slots at the center of the base, a frame-only stud platform works better underneath than a solid deck: water leaving the unit needs a path down to the slope or pan below.
Ventilation Underneath: Plan the Opening, Do Not Drill It Later
Flare asks for 70 square inches of ventilation space beneath the fireplace, so air can move and any moisture that gets in can dry out.
Seventy square inches is a real opening, roughly a continuous slot an inch tall and six feet long, or a pair of grilles. It belongs in the drawing of the base, bench or plinth from the start. Added afterwards, it ends up wherever the stone coursing happens to allow, which is rarely where you want it.
Wind
Wind is the most common complaint about outdoor fireplaces, and it is almost always a siting problem rather than a product one. Direct wind makes the flame dance erratically, can blow out the pilot or the burner, and leaves soot on the glass. These conditions indicate that the location or wind exposure should be reviewed before continued operation.
So look at the prevailing wind before fixing the location, and be particularly careful at rooftop edges, in the gap between two buildings, on waterfront sites and on open terraces, where the wind changes through the day.
A 5 inch tempered glass wind guard is available, with an optional heat shield behind it. Two things to know: never make the guard taller, because a taller guard traps heat and will damage the fireplace and the surround. A wind guard can improve performance in a reasonably sheltered location, but it cannot compensate for direct, persistent wind exposure.
Gas and Power
The fireplace takes a 1/2 inch gas line at the unit, with the upstream run sized by your plumber for the length of run and the rating on the unit. Natural gas runs at 7 to 8 inches water column, propane at 10 to 11, both measured at commissioning. A manual shutoff valve is required, is not supplied with the fireplace, and has to end up somewhere accessible and visible next to it, so it is worth deciding where that lives while the surround is still on paper.
On propane: the unit runs on regulated propane plumbing with a Flare conversion kit fitted by a licensed gas fitter. It is never connected directly to a cylinder, and a tank must never be stored inside the fireplace chase.
Electrically it needs a 110V, 15A, GFCI-protected supply, wired in conduit or metal clad and rated for outdoor use. A hard-wired connection is the preferred approach.
And here is the one that surprises clients: no remote, no app, no smart home integration. Flare outdoor fireplaces have to be operated from a physical wall switch or a timer, because they are open-flame appliances that need someone present. If the project includes whole-home automation, the outdoor fireplace is the exception to it. Put the switch somewhere people will genuinely use, rather than discovering the limitation at handover.
Three Details That Come Up Late
The service panel. Gas and power come into the unit through an access panel on the right side as you face it, and that panel is how the fireplace gets serviced for the rest of its life. It can be moved to the left at the jobsite, but only before the surround closes up. Decide early.
Altitude. Above 2,000 feet, output ratings come down by 4 percent for every 1,000 feet above sea level. Worth confirming at commissioning on mountain projects rather than assuming the catalog figure.
Media. Use fireglass, in 1/4 or 1/2 inch. Ceramic logs, stones and branches are fiber-based and break down quickly outdoors, which is why Flare does not recommend them here. Keep the glass an inch clear of the pilot and off the main burner ports.
Choosing a Configuration
Flare builds 50 outdoor models, from 50 to 100 inches wide, each with a 16 inch or 24 inch opening. A front-facing unit gives you a long linear flame on an exterior wall. A see-through connects two outdoor zones, such as a dining area and a lounge, as long as neither side opens into the house. Left corner, right corner and double corner units open the flame to more than one viewing angle and suit outdoor rooms built around a corner.
Drawings, framing guides, CAD, Revit and SketchUp files for every model, along with the full installation manual, are in the Outdoor Fireplace Specification Center. For a design-led look at the range, see our guide to modern outdoor linear gas fireplaces.
Common Questions
Can a Flare outdoor fireplace go under a covered patio?
Often yes. A roof with no more than two walls is permitted. A roof with three walls is permitted only when at least 30 percent of the perimeter remains permanently open. A fully enclosed space never qualifies, and the fireplace can never open into the inside of a house.
How much clearance is needed above the opening?
At least 36 inches from the opening to the ceiling, with a 90 inch minimum floor-to-ceiling height. An overhang directly above the opening must be non-combustible and can project no more than 4 inches.
Can it go under a vinyl soffit or vinyl patio ceiling?
No. Vent-free units throw considerable heat out of the front, and Flare does not cover heat damage to vinyl soffits, ceilings or overhangs. That surface needs to be non-combustible and heat resistant.
How high above a wood deck can it be installed?
At least 11 inches above the ground or any combustible surface. Lower than that, the surface underneath has to be non-combustible: stone, tile or concrete.
Does an outdoor fireplace need a drain?
Yes. A sealed, corrosion-resistant drain pan runs the full length of the unit and goes in before it, sloped about 1/4 inch per foot to a drain port with piping or weep holes. Build the framing taller to fit it.
How much ventilation is needed underneath?
70 square inches, to keep air moving and let moisture dry. Design the opening into the base or bench rather than adding it later.
Can I control it from a remote or my smart home system?
No. Flare outdoor fireplaces run from a wall switch or a timer. Remotes, smart devices and third-party automation are not permitted, because these are open-flame appliances that need an operator present.
Does it need a chimney or a flue?
No. That is the advantage of a vent-free unit, and it is why one can sit in a garden wall with nothing above it. The trade-off is that the space around it has to stay genuinely open, as described above.
Can it run on propane?
Yes, on regulated propane plumbing with a Flare conversion kit fitted by a licensed gas fitter. It is never connected straight to a cylinder, and a tank must never be stored in the fireplace chase.
Will wind be a problem?
It can be. Direct wind makes the flame erratic, can blow out the pilot and leaves soot on the glass. Pick a sheltered spot, and add the 5 inch wind guard if you need it. Never increase its height.
Does anything change at altitude?
Above 2,000 feet, ratings reduce by 4 percent per 1,000 feet above sea level. Confirm it at commissioning.
Get the Fireplace Right Before the Room Is Built
Nearly everything here is easy while the project is still a drawing and expensive once it is stone. Whether the space stays open enough decides if a covered patio can have a vent-free fireplace at all. The drain pan and the ventilation underneath decide how tall the base is. The ceiling clearance and the overhang limit decide the elevation. The switch requirement decides an electrical detail the automation contractor will otherwise assume.
To move a project forward, browse the Flare outdoor range, pull model drawings and the installation manual from the Outdoor Fireplace Specification Center, or talk to us about the location and enclosure before the surround gets detailed.
Figures here are drawn from the Flare vent-free outdoor installation manual and are given for planning. Always build to the current manual supplied with your unit and to local code. Installation and service must be carried out by a qualified certified installer.